
Hello readers! In this article we'll cover how to create a custom learning path for your learners!
What is a Custom Learning Path?
Custom Learning Paths also provide the ability to link to external documents you may be wanting to use to supplement your users' learning. We'll talk about that more within the steps below.
What do I need to create a custom learning path?
In order to be able to create a custom learning path, you need to be an Instructor. Without instructor privileges, you won't be able to do this.
How do I create a Custom Learning Path?
-
Access a Parent or a Subgroup
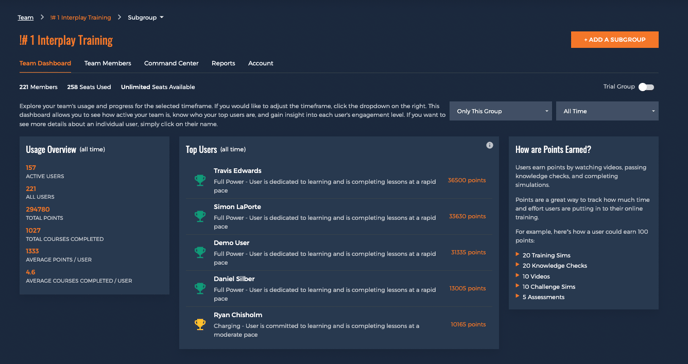
-
See a list of existing custom learning paths
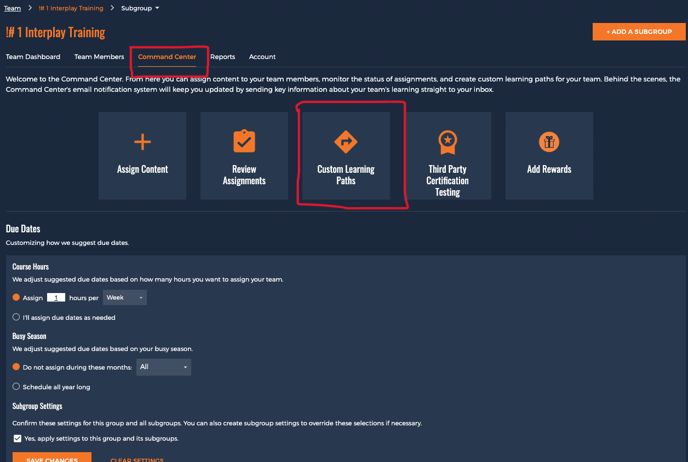
-
Create a new learning path
-
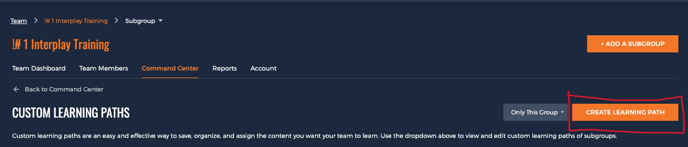
Switch from "only this group" to "include subgroups"
- 1. Click "Create Learning Path"
-
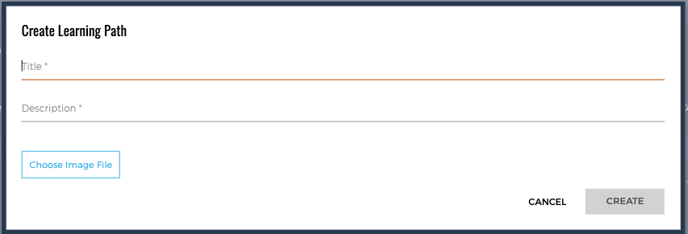
Edit the Learning path (name, description, photo)
-
Assign the Learning path
-
Add Content
-
Remove Content
-
Reorder Content
Editing a Learning Path
1. Click "Edit Learning Path"

- 2. Here you'll be able to edit your title, description, change image.

Assigning Learning Path
1. Click "Assign" Button
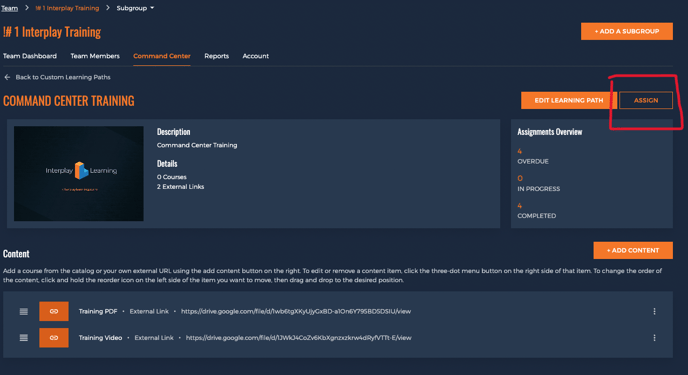
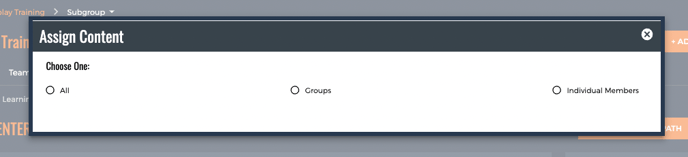
2. Select whether you'd like to assign this Learning path to individuals or groups
-
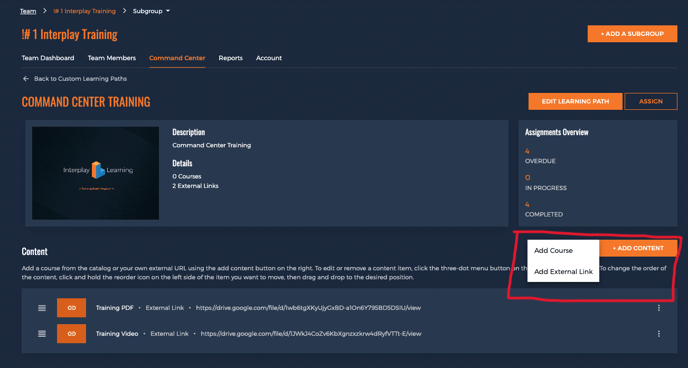
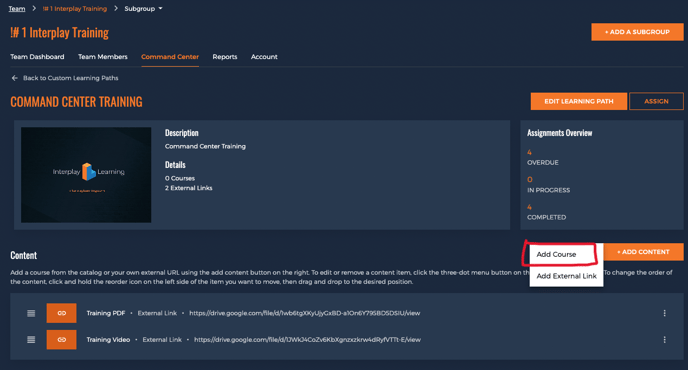
Click "Add Content"
-
Choose either "Add Course" or "Add External Link"
Adding Content
1. Click "Add Content"
2. Choose either "Add Course" or "Add External Link"
Adding a Course
1. Click "Add Course"
Once clicked, you will be presented with a menu where you can select categories, scroll through lists of courses and search for a specific course, like below:
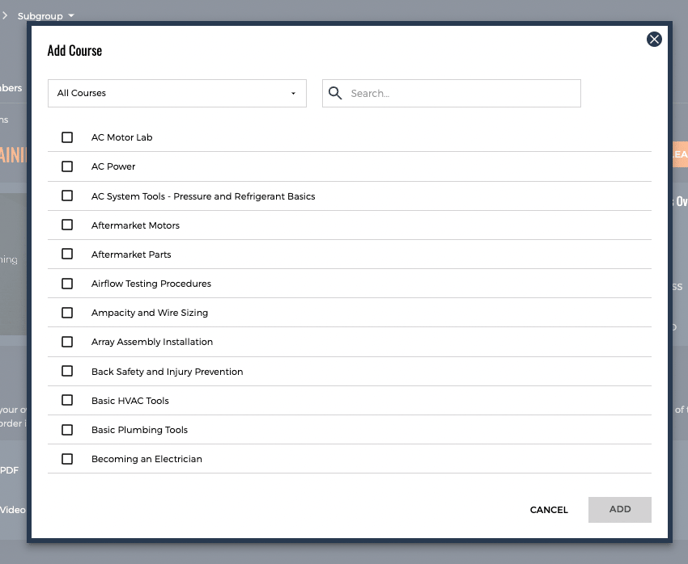
- 2. Once you've selected your courses, click "add" and those courses will be added to your learning path!
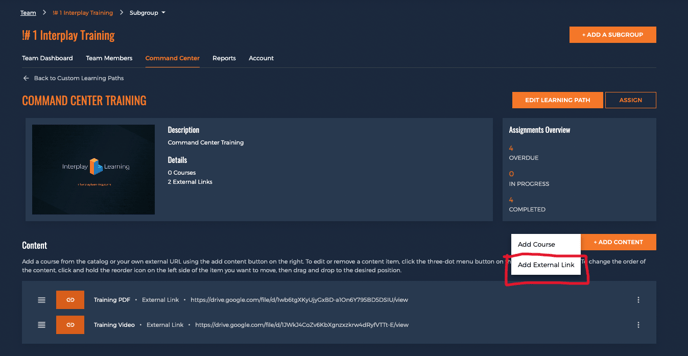
Adding an External Link
1. Click "Add Content" and select "Add External Link"
- You will be presented with the menu below:
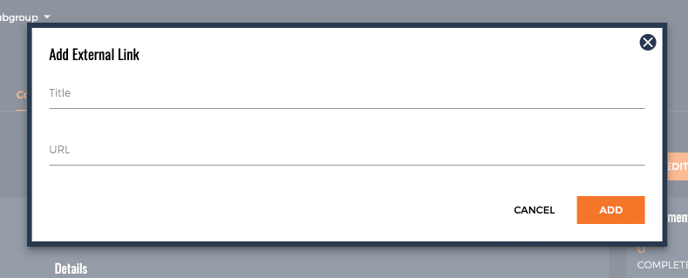
- Here you will be able to add the link to your content, whether this be a link to a youtube video, a google drive link, that's up to you!
- 2. When you've added your links and Title info, click "add"
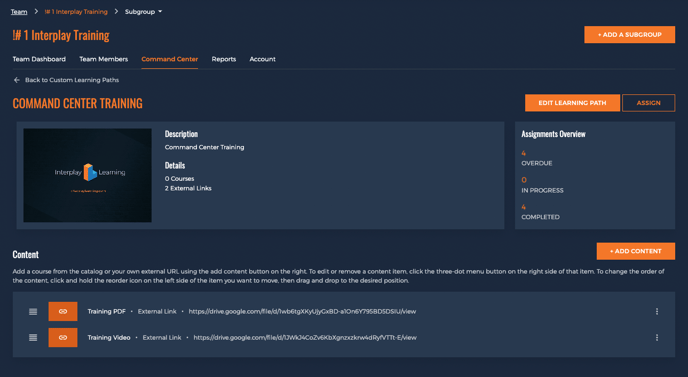
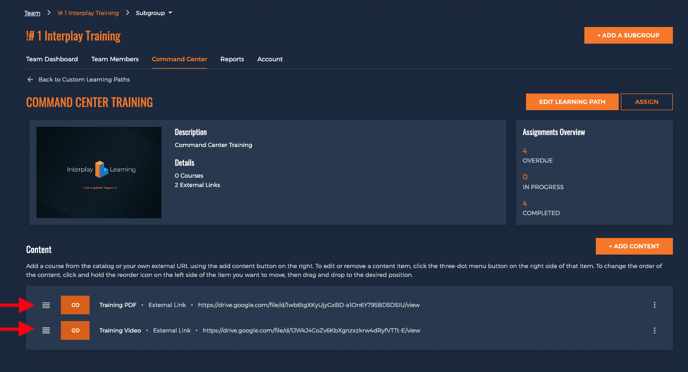
External links are listed on the "Content" list in the custom learning path
Removing Content

1. Click on the three dot menu on the right side of your content.
2. If your content is an external resource, there will be two options, "edit" and "remove."
If your material is categorized as content, keep in mind, the only option here is to select "Remove"
3. Click "Edit" and you will see the below menu
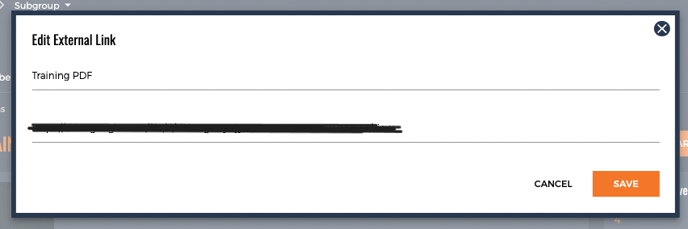
Here you will be able to edit the Title or URL. Once you've completed your changes, click "Save"
Reordering Content
You can reorder content by pressing on the three lines on the left side of your content image, and dragging and dropping!
Thank you as always for taking the time to read this article! We hope this is a great resource for you and your users! Happy Learning 😀